Snipcart and Gatsby for Easy Digital Goods Shop
Quickly building a shop for digital goods on an e-commerce website is important for many merchants. Using Snipcart and the CMS Gatsby allow us to integrate a shop fast. Not only is the work of building the shop much less than traditionally, but also the site performance is outstanding, thanks to Gatsby. And speed counts, as most e-commerce merchants know.
Installing Snipcart for Gatsby
With the following plugin, you can integrate Snipcart with your Gatsby site. You need to create an account on Snipcart and get the test API key.
npm i gatsby-plugin-snipcartv3 --save
Then in the gatsby-config.js you need to add:
    {
      resolve: "gatsby-plugin-snipcartv3",
      options: {
        apiKey: YOUR_API_KEY,
      },
    }
Upload of Digital Good
The next step is the upload of the digital good (like an e-book) file in the Snipcart dashboard.
This can be done in the section "Digital Goods", "Upload".

The result is a unique hash ID, the GUID. This GUID we need in the next section. Note that you should enter a value for the maximum downloads per order for the shop to work.
Define Button
You can define all the parameters for the shop in one HTML button element with the parameters in the element's attributes. You click the button and the digital good is added to the shopping basket. That's how easy the shop integration is.
        <img
          src={GetBookButton}
          alt="Get A28 City Travel Guide Munich Haidhausen"
          class="snipcart-add-item"
          data-item-id="df29383b-7acf-4d2e-9cfc-616b7929e8ad"
          data-item-file-guid="df29383b-7acf-4d2e-9cfc-616b7929e8ad"
          data-item-price="3.99"
          data-item-url="http://www-test.a28.city.s3-website.eu-central-1.amazonaws.com/store"
          data-item-description="Travel like a Bavarian to Munich."
          data-item-image={BookCover}
          data-item-name="A28 City Guide Munich Haidhausen"
          data-item-has-taxes-included="true"
        ></img>
In my case, the button is an img element, but you can also use a real button. The attribute data-item-file-guid specifies the GUID. The same GUID is also used in the data-item-id attribute. Then you also need the class attribute set to "snipcart-add-item" and the data-item-url to the URL of your shop.
The URL is important for security, and you can test your application in test mode. So then it should be the URL of your test site, which needs to be accessible over the internet (not localhost).
Fetch Products
Then you need to deploy your test site and your test server with all parameters filled out.
In the Snipcart dashboard, you now need to fetch the products, under the "Fetch Products" menu.

You enter the URL of your shop, as also defined in the data-item-url.
Furthermore, you also need to define the URL in the "Domains & Urls" menu.

Now it is time to check out the menus in the Snipcart dashboard. You can set taxes, countries to sell to, email templates and more.
Production
Basically, this is all there is for a complete shopping basket and checkout process on your Gatsby website. When the tests work well, you can switch over to "live" mode and choose a payment gateway to process your payments.
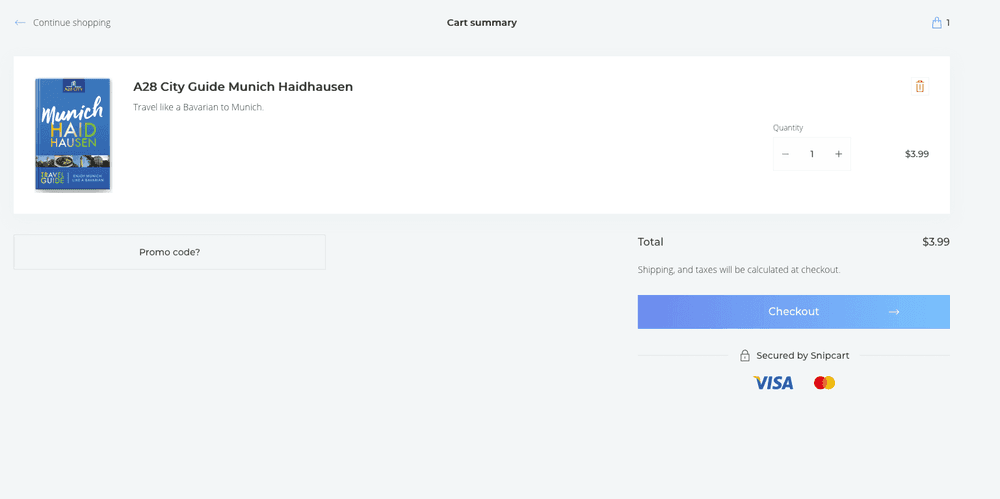
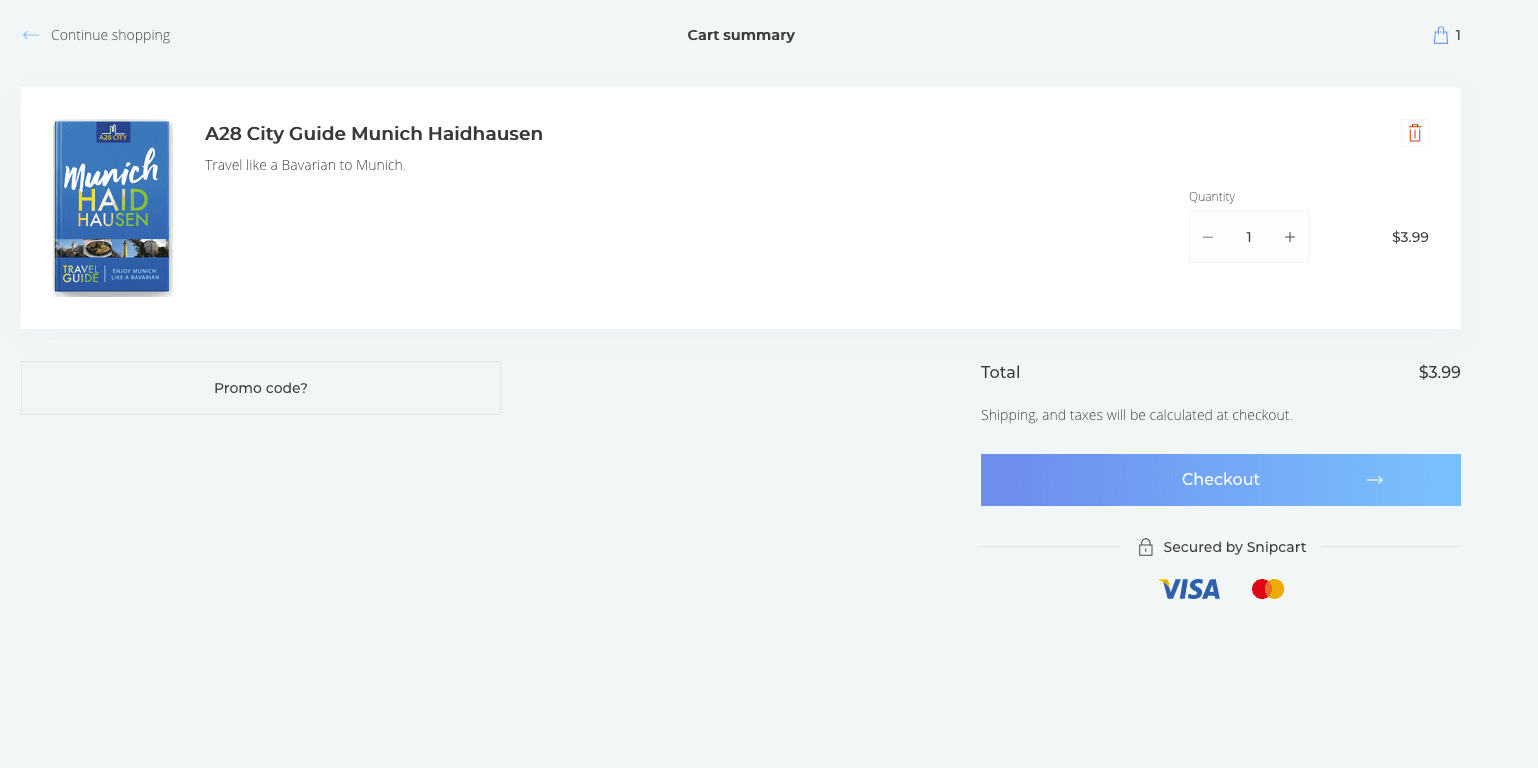
My shopping cart that I built for my site looks like this:

Conclusion
Snipcart is a fast and easy solution for Gatsby websites that want to sell digital goods.
References
Snipcart: https://www.snipcart.com
Gatsby Snipcart Plugin: https://www.gatsbyjs.org/packages/gatsby-plugin-snipcartv3/?=snipcart
Published
21 Feb 2020
